Welcome to the world of sound design! If you’re curious about how to create realistic clothing Foley sounds, you’ve come to the right place. In this article, I’ll walk you through the process of recording, editing, and designing clothing Foley sounds from scratch. By the end, you’ll have a solid understanding of how to bring your audio to life and maybe even a free sound pack to get you started!
What is Clothing Foley?
Clothing Foley refers to the sound effects created by the movement of clothing materials. Whether it’s the rustle of a leather jacket during a fight scene or the subtle swish of a cotton shirt, these sounds play a crucial role in enhancing the realism of audio in films, games, and other media.
Why Create Your Own Clothing Foley?
- Customization: Tailor sounds to fit your specific project needs.
- Quality: Ensure high-quality recordings that meet professional standards.
- Creativity: Experiment with different materials and techniques to create unique sounds.
Recording the Clothing Foley
To kick things off, I set out to record some clothing Foley sounds that I needed for a design project. I was focused on hand-to-hand melee combat, which required a variety of clothing sounds that I didn’t have in my library. So, I decided to create my own!
Equipment Used
- Zoom F6: A versatile field recorder that captures high-quality audio.
- Sennheiser MKH416: A shotgun microphone ideal for focused sound capture.
Recording Techniques
Here’s a quick overview of the steps I took while recording:
- Set up your microphone and recorder in a quiet environment.
- Experiment with different materials like leather jackets, denim pants, and cotton shirts.
- Record various movements, including punches, swings, and general fabric rustling.

Editing Clothing Foley Techniques
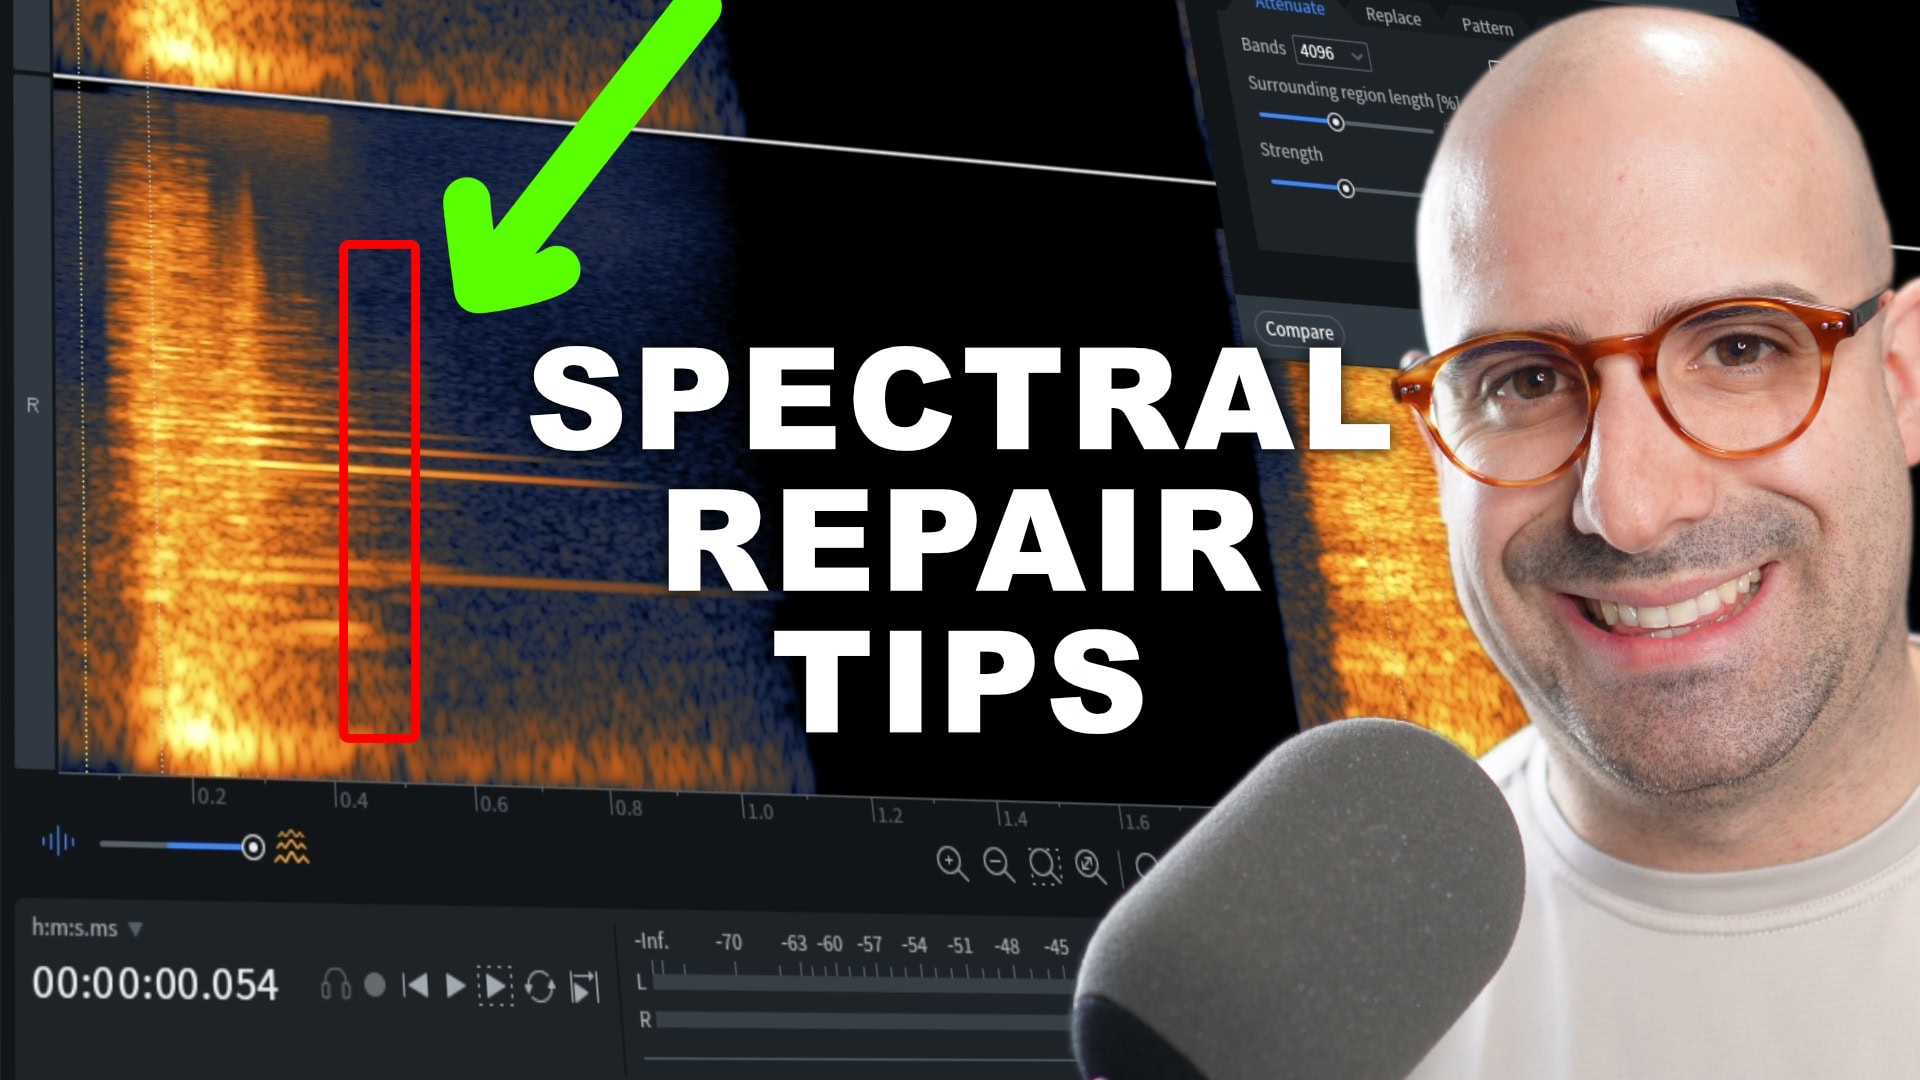
Once I had my recordings, the next step was to edit the sounds to ensure they were clear and usable. This process involved using RX, a powerful audio editing software.
Normalization
Normalization is essential for balancing your audio levels across all your sound effects. Here’s how I did it:
- Select the entire section of recorded audio.
- Normalize the volume levels to ensure consistency across all takes.

Noise Removal
Next, I focused on removing any unwanted background noise:
- Use the spectral view to identify silent sections.
- Apply the spectral denoise module to learn the noise profile and remove it from the recordings.

Preparing the Recorded Files in Reaper
After editing in RX, I imported the cleaned audio into Reaper, a digital audio workstation that I prefer for sound design.
Organization of Takes
Organization is key in sound design. I split my recordings into different folders based on the type of sounds:
- Punches
- Swings
- General rustling

Dynamic Splitting
To enhance the usability of my recordings, I employed dynamic splitting:
- Use the dynamic split feature to segment sounds accurately.
- Adjust the length of each segment to control the tail of the sound.
Designing Clothing Foley
Now that I had all my sounds organized, it was time to design them. This is where the magic happens!
Layering Sounds
One of my favorite techniques is layering different sounds together:
- Combine multiple recordings to create a fuller sound.
- Use MVK create to manage and blend these layers effectively.

Effects Processing
Applying effects can significantly enhance the quality of your Foley sounds. Here are some effects I like to use:
- Multiband Compression: Controls the dynamics of the sound.
- EQ: Adjusts the tonal balance and emphasizes certain frequencies.
- Transient Shaper: Adds punch to the sounds, making them more impactful.

Final Thoughts
Creating Clothing Foley can be a rewarding endeavor that adds depth and realism to your projects. By following the steps outlined in this article, you can start crafting your own sound library that fits your unique needs.
Free Sound Pack
If you are interested in getting all the sounds from the session, you can find the link below to download it:
FAQ
What materials are best for recording Clothing Foley?
Materials like leather, denim, and cotton are excellent choices for capturing realistic clothing sounds.
Do I need expensive equipment to get started?
While professional equipment can enhance quality, you can start with basic recording gear and improve as you go.
Can I use these sounds in my own projects?
Yes! Feel free to use the sounds you create or download from the sound pack in your projects. If you are ever unsure about use, you can checkout the DDA EULA.
Where can I learn more about sound design?
Check out my courses and resources available on my website for more in-depth learning.
Thanks for reading! If you have any questions or comments, feel free to leave them below. Happy sound designing!