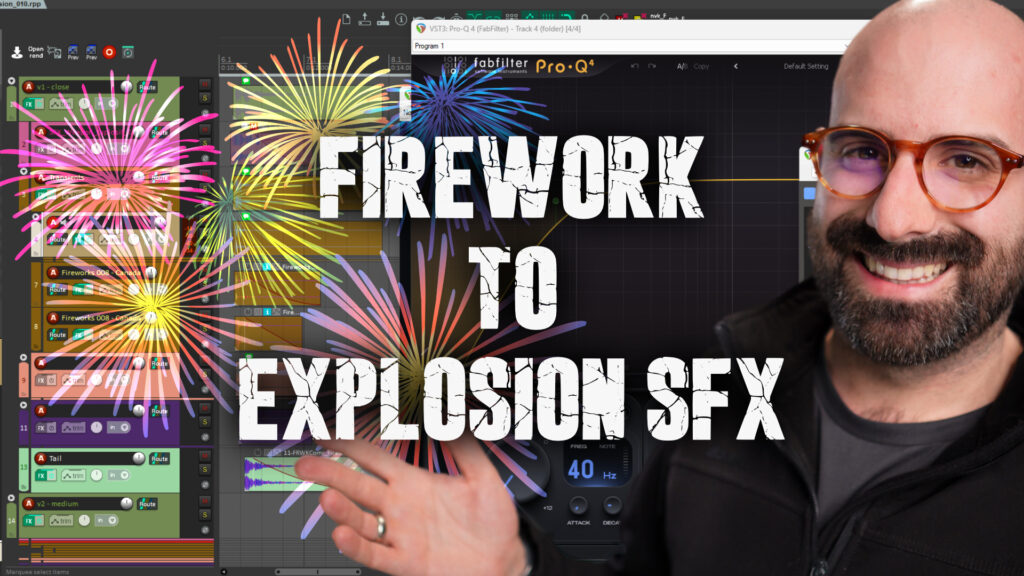
A thunderclap already has a lot of what an explosion needs: a sharp impact, a big low end, and a natural tail that carries into the distance. The trick is not to process one recording until it does everything. It is to pull apart the useful moments, give each layer a clear job, and shape them into one controlled explosion sound effect.
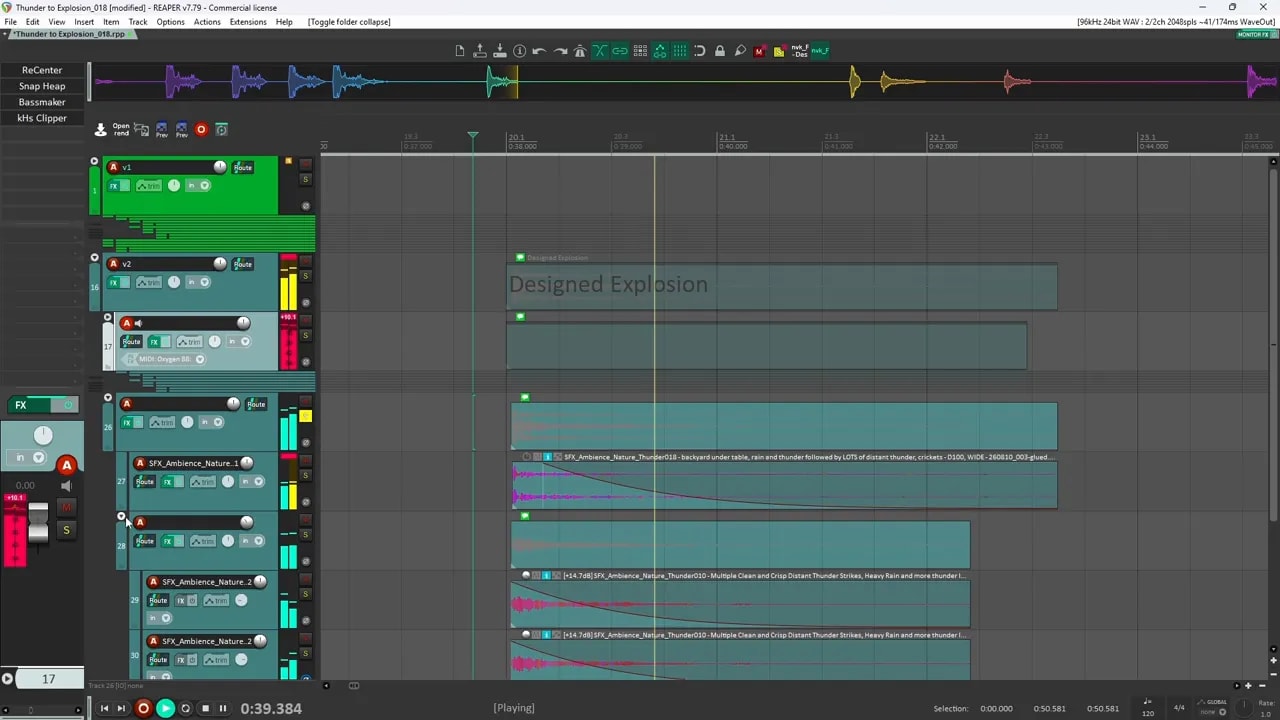
I built these explosions in Reaper from mid-side thunder recordings, using transient shaping, filtering, saturation, sub enhancement, layering, and bus processing. The same approach can work for game sound design, film sound effects, or any big cinematic impact.
Start With the Cleanest Thunder Recording You Can Get
Good recordings make the job much easier. That said, a recording does not need to be completely perfect to become useful. One of my thunder recordings had birds in the background. They were quiet in the raw recording, but became more noticeable once the sound was processed, boosted, and made louder.
The goal is to identify what is useful in the recording and work around the rest. With a long thunder recording, scan through it and find:
- A short, punchy section for the explosion transient.
- A distant or sustained section for the tail.
- Alternative impacts and tails that can add variation.
- Any unwanted background detail that needs filtering or masking.
I was working from a mid-side recording, meaning there were two microphone channels but they represented one recording. Mid-side recordings can give you plenty of width and detail, but the main sound design decision still starts with choosing the right section of audio.
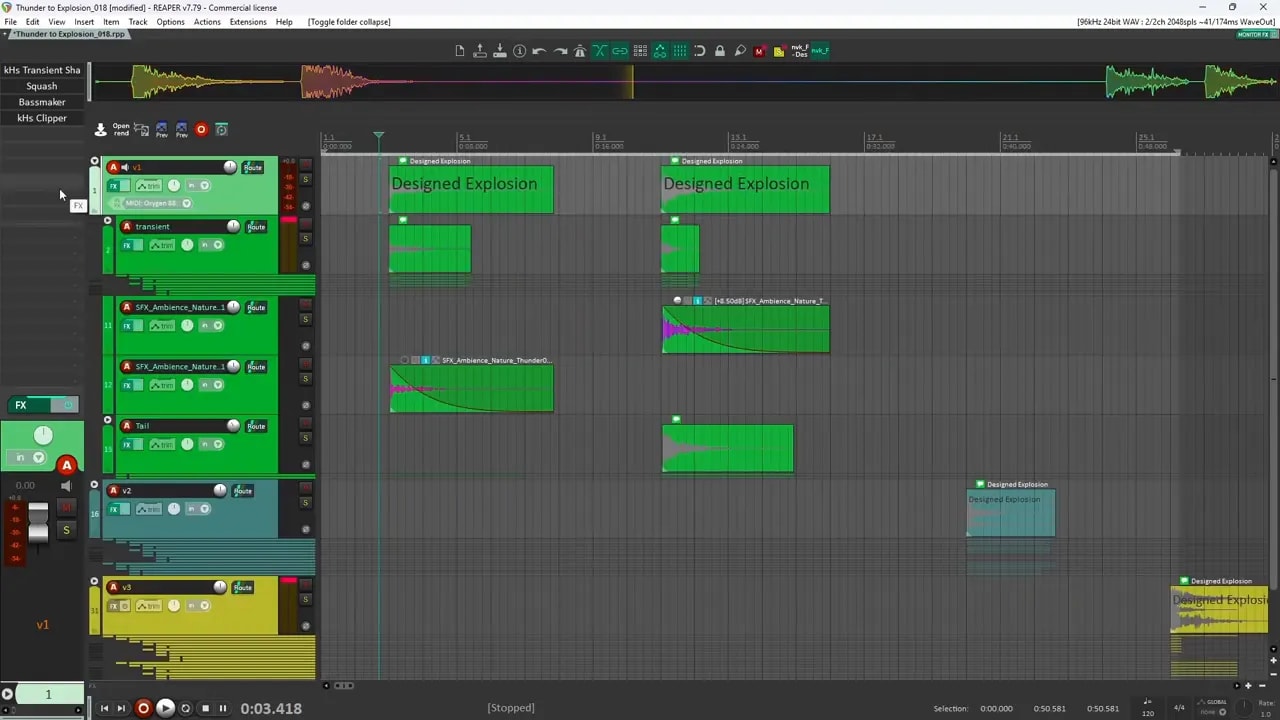
The Main Explosion Design: Separate the Transient and Tail
The most useful way to approach a thunder explosion is to split it into two core parts:
- The transient, which gives you the immediate click, hit, and impact.
- The tail, which gives you the size, distance, rumble, and air.
These do not have to come from the same thunderclap. In fact, using different parts of a longer recording gives you much more control. A raw thunder transient can become a heavy close explosion, while a separate distant ring out can make it feel like the sound is travelling through a huge space.
Choose the Start Point Carefully
Do not automatically cut right before the biggest peak. Move the edit point around the front of the thunderclap. Starting slightly earlier or later can completely change the transient character.
A small shift might give you:
- A tighter click.
- A heavier impact.
- A more rounded boom.
- A more aggressive, poppy attack.
This is one of those simple decisions that can change the result before any plugin processing is added.
Build a Punchy Explosion Transient
For the transient layer, the goal is to make the thunder feel shorter, tighter, brighter, and more immediate. A thunderclap has power, but it can also be soft and spread out. Transient processing helps pull the impact forward.
Use Transient Shaping for Attack and Sustain
I used Quantum as a transient shaper to bring up the attack and shorten the sustain. This added a sharper click to the front of the thunder and stopped the transient layer from taking up too much space after the initial hit.
The core move was simple:
- Increase the attack to emphasize the hit.
- Reduce sustain to keep the impact short.
- Use a short decay so the click does not hang around.
For heavier, more aggressive variations, I pushed the attack harder and brought the sustain down further. That made the thunder transient much more poppy and impact focused.
Shape the Frequency Balance
After transient shaping, I used EQ and filtering to pull out the useful frequencies. For a close explosion impact, this often means bringing out enough high end to hear the attack while removing low end that is muddy, uncontrolled, or unnecessary in the transient layer.
Nonlinear filtering and saturation were also useful here. They process the sound differently from clean EQ, adding some edge and character while helping control the frequency balance.
Parallel processing is especially useful for this. Instead of committing the entire transient to one heavily processed sound, blend in a filtered and more aggressively shaped version alongside the original. That lets you add intensity without losing the natural weight of the thunder recording.
Add Weight With Sub and Clipping
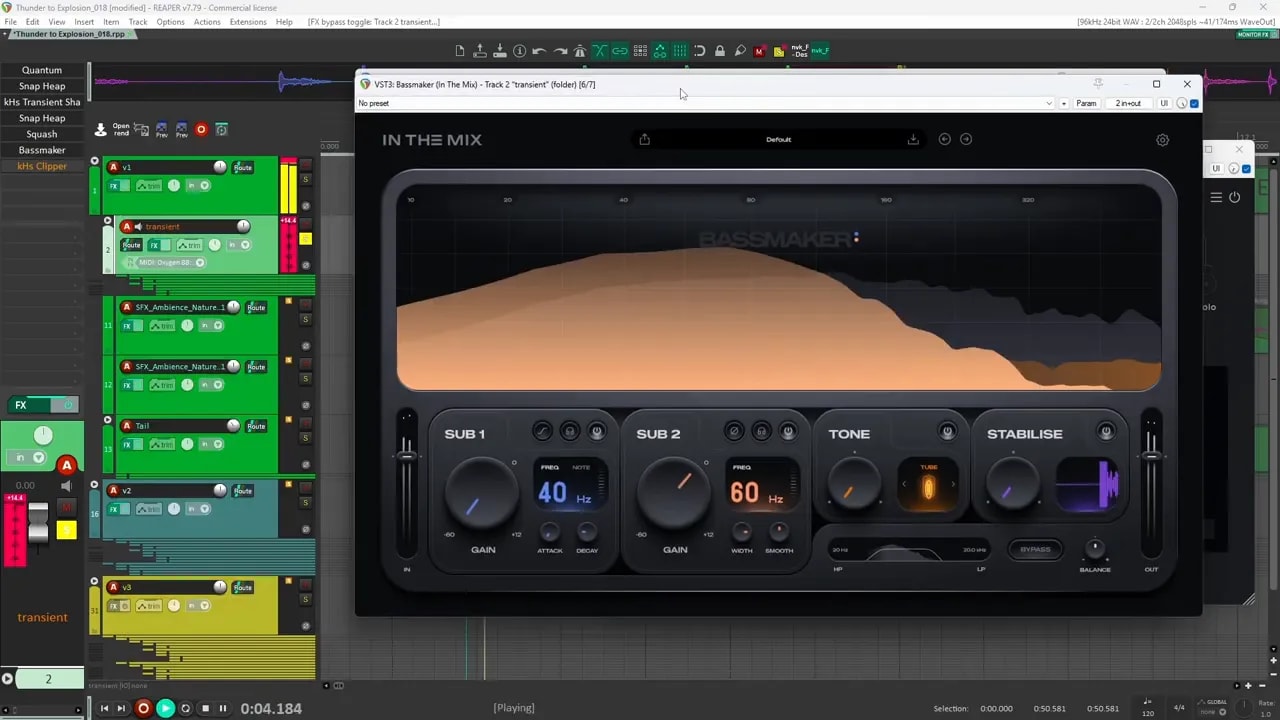
Once the attack is working, add the body. Bassmaker was used to bring sub content back into the transient and make it feel heavier. This is where the sound starts moving from thunderclap toward explosion.
A clipper at the end of the chain can help control peaks and keep the impact dense. Even if it is not doing much clipping, it can still be a useful safety stage in the chain.
A basic transient processing order can look like this:
- Transient shaper for attack and sustain.
- EQ to pull out the click and clean up low end.
- Parallel nonlinear filtering or saturation.
- Additional transient shaping if needed.
- Sub enhancement.
- Clipping for peak control.
Shape a Separate Tail for Distance and Size
The tail layer is usually a more distant, sustained section of thunder. By itself, it might sound bright or a little too open. That is fine. The job of the tail is different from the job of the transient.
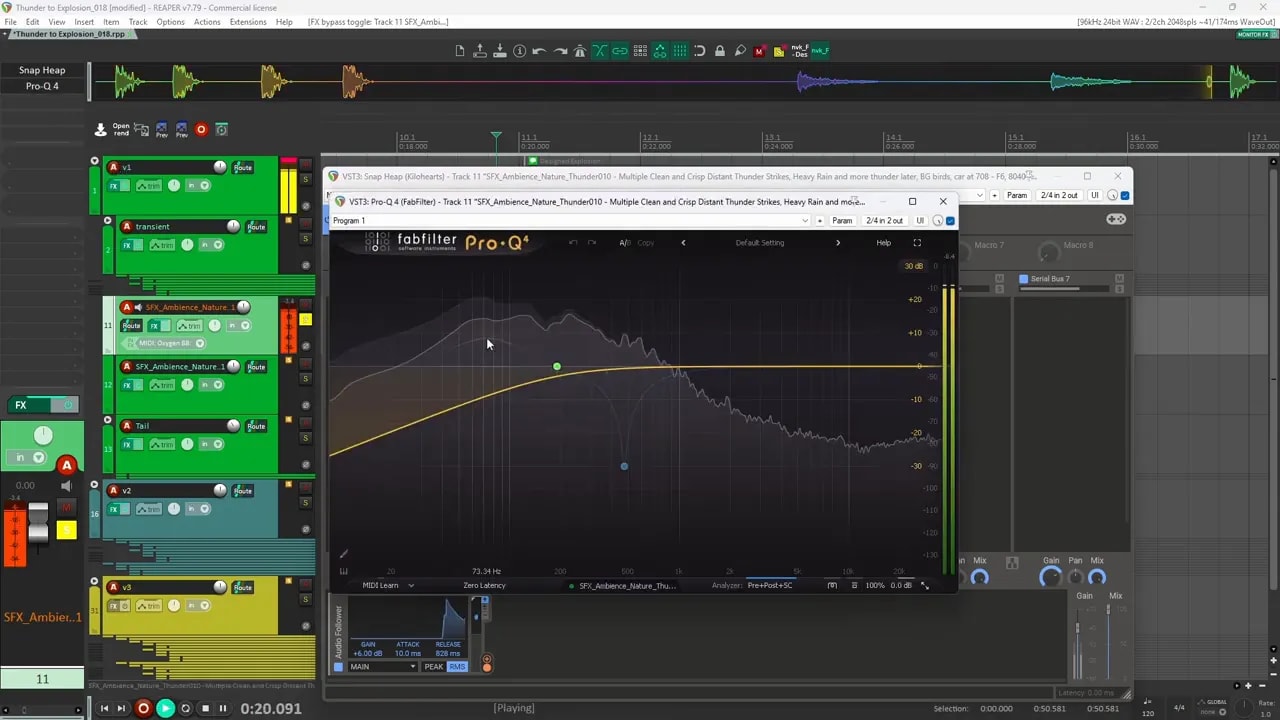
Use filters to shape the ring out into something that supports the impact instead of competing with it. In one version, a simple filter took some brightness out of the distant tail. In another, a nonlinear filter added a little saturation, followed by EQ to tame the low mids and highs.
For bigger sounds, use more than one tail:
- A mid and high tail for air, detail, and distant crack.
- A low tail for rumble, sub, and weight.
When these are layered with the close transient, you get a more complete explosion. There is a hit up front, detail in the middle, and low energy carrying out at the end.
Filter Around Background Noise Without Destroying the Sound
The birds in the thunder recording became a problem only after the layer was made louder. The solution was an automated high cut filter moving downward over time. It removed more of the high frequency material as the tail continued, helping hide the birds while preserving enough of the thunder character.
There is always a tradeoff. You can filter more aggressively, but you may lose the part of the tail that makes it sound good. It is better to reduce the distraction enough than to overprocess the sound until it loses its character.
Automate the Processing So the Tail Can Breathe
One important detail is that transient shaping should not necessarily stay active for the whole sound. If the transient shaper continues boosting attack and reducing sustain during the tail, it can create unwanted clicks and popping as the thunder rings out.
I modulated the transient shaping so it was strongest at the very beginning, then faded away. The same idea was applied on the individual transient layers and on the master bus.
This gives you the best of both worlds:
- A strong, sharp front end.
- A smoother tail without extra popping.
- More room for the distant layers to come through.
Think of it as processing the explosion in stages. The front needs aggression. The tail needs breathing room.
Use Bus Processing to Glue the Explosion Together
Once the transient and tail layers are balanced, route them to a bus and process the explosion as one sound. This is where you can add final impact and cohesion.
The bus chain included more transient shaping at the start of the sound, Squash, Bassmaker, and a clipper. Squash can add some noise and density back into the sound, though that needs to be used carefully. If it adds too much noise, simply bring it down.
The bus is not there to fix a bad layer balance. It is there to make already useful layers feel like one explosion.
A practical bus checklist:
- Use transient shaping only where it helps the initial impact.
- Add density carefully without making the sound harsh.
- Enhance low end only if the explosion needs more weight.
- Use clipping or limiting to control peaks.
- Check whether added processing is actually improving the sound.
Make Variations From the Same Thunder Recording
A long thunder recording can give you several explosion designs. The first version used one transient and one tail. The next version used a heavier transient and two separate tails.
Another variation used two thunder transients. One was hit hard with transient shaping, while the other provided another layer of pop and detail. The principle stayed the same: choose different moments in the recording and make each one perform a specific role.
Do not assume the biggest raw thunderclap will create the best explosion. Sometimes a smaller sharp crack makes the better transient, while a quieter distant roll makes the better tail.
Add Extra Detail With Complementary Layers
For the third explosion, the thunder layers were good on their own, but the tail needed more detail and air. Two additional explosion sounds made from foley recordings were added to fill out the design.
One layer added a higher, ripping texture that made the explosion feel like it was bouncing and tearing something apart. The other focused more on bass and sub, with a delayed quality that made it feel farther away.
This is a useful reminder that sound design layers do not need to come from the same source. Thunder can provide the core impact and distant tail, while other designed sounds add texture, movement, and low end.
For a deeper look at that approach, check out this foley-to-explosion sound design workflow.
Use Ducking to Protect Important Detail
When the low bass layer came in too early, it masked the ripping high layer at the beginning. The high detail was more important at the start, while the low end was more important later in the tail.
Trackspacer was used to duck the sub and bass layer until the high ripping layer had finished its important opening moment. Then the low layer came back up for the final tail.
This is an effective way to make layers cooperate instead of fighting each other:
- Decide which layer matters most at each moment.
- Duck the competing layer only where needed.
- Let the masked layer return when it has room to contribute.
Layering is not just about adding more sounds. It is about making sure each sound is audible when it matters.
Finish With Sensible Peak Control
A limiter on the main master bus can catch peaks, but it is also good practice to use peak control on the individual explosion bus. This keeps the sound manageable before it reaches the full project chain.
Do not rely on a limiter to make the sound feel massive. The size should come from the source selection, transient design, tail layers, frequency balance, and automation. The limiter is there to control the result, not build it for you.
A Repeatable Thunder-to-Explosion Workflow
Here is the complete process in a simple form:
- Scan the thunder recording and find sharp cracks, heavy impacts, and distant ring outs.
- Create a transient layer from the punchiest section.
- Create one or more tail layers from distant or sustained thunder sections.
- Shape the transient with attack, sustain reduction, EQ, saturation, and sub enhancement.
- Shape the tails with filtering, EQ, saturation, and low end control.
- Automate transient processing so it fades out after the front hit.
- Use bus processing to glue the layers together.
- Add supporting layers when the sound needs more ripping detail, air, or body.
- Use ducking to stop bass layers from masking important high frequency detail.
- Clip or limit the explosion bus to manage peaks.
Build Explosions From What the Recording Gives You
The main lesson is to stop treating the raw thunderclap as one finished sound. Scan through the recording, find useful pieces, process them for specific jobs, and layer them into something bigger.
A thunderclap can become a close impact. A distant roll can become a tail. A filtered layer can hide unwanted background sound. A foley explosion layer can add tearing detail. A ducked sub layer can make the ending feel huge without masking the beginning.
That is how simple recorded material becomes a massive cinematic explosion sound effect. If you want more ideas for turning ordinary sources into designed sounds, the four-step sound design workflow is a useful framework to apply to almost any source recording.
For more raw material to experiment with, grab the free Sound Designer’s Starter Pack.