A busy tavern needs more than a crowd recording. You want the steady chatter, a fireplace, dishes moving around, and little hints of people walking through the room or putting something down on a table.
The trick is getting those details to feel active without having everything happen constantly.
I built this tavern ambience in Reaper using Shrapnel in roughly one to two hours. Rather than placing every sound by hand, I used its physics-based triggering to create variation, then exported and edited the result into a usable ambience loop.
1. Set Up the Shrapnel Patch
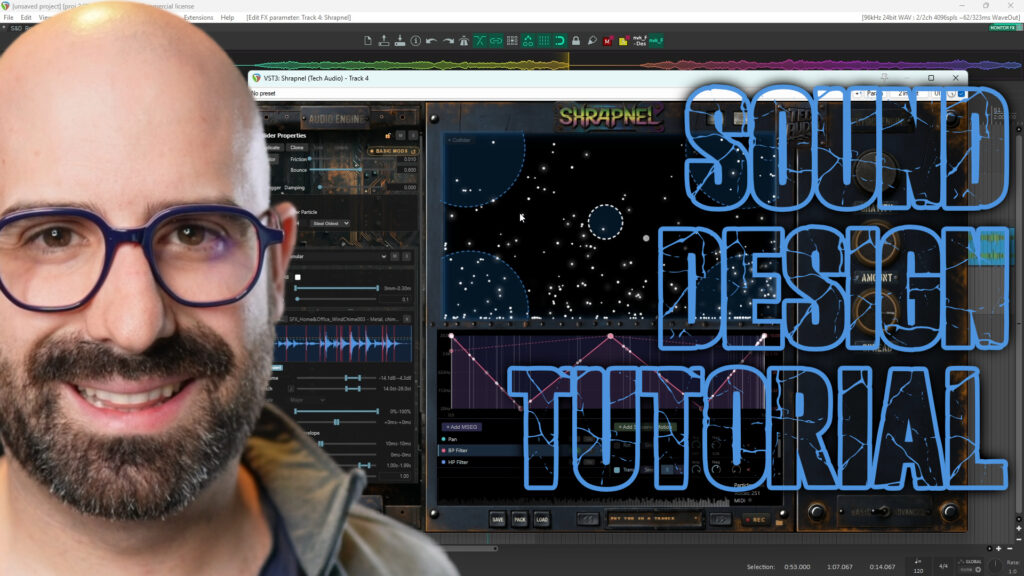
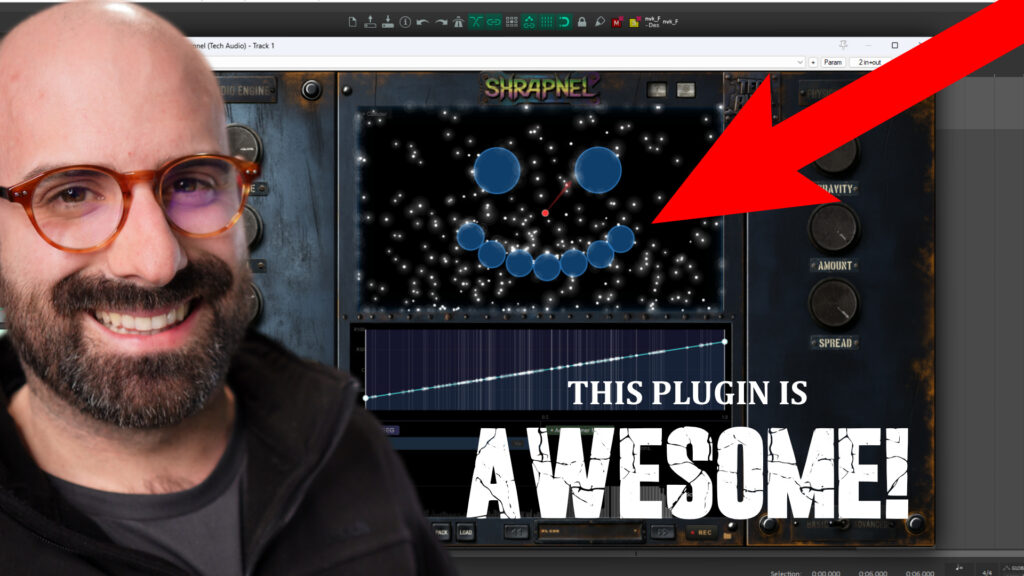
I started with a preset I had already created. The collider layout was simple:
- A few circular colliders inside the sandbox.
- Two rectangular colliders along the bottom.
- Different sounds assigned to the sandbox boundaries and individual colliders.
As particles move around and hit these surfaces, they trigger sounds. That gives you a way to generate activity without manually arranging every event on the timeline.
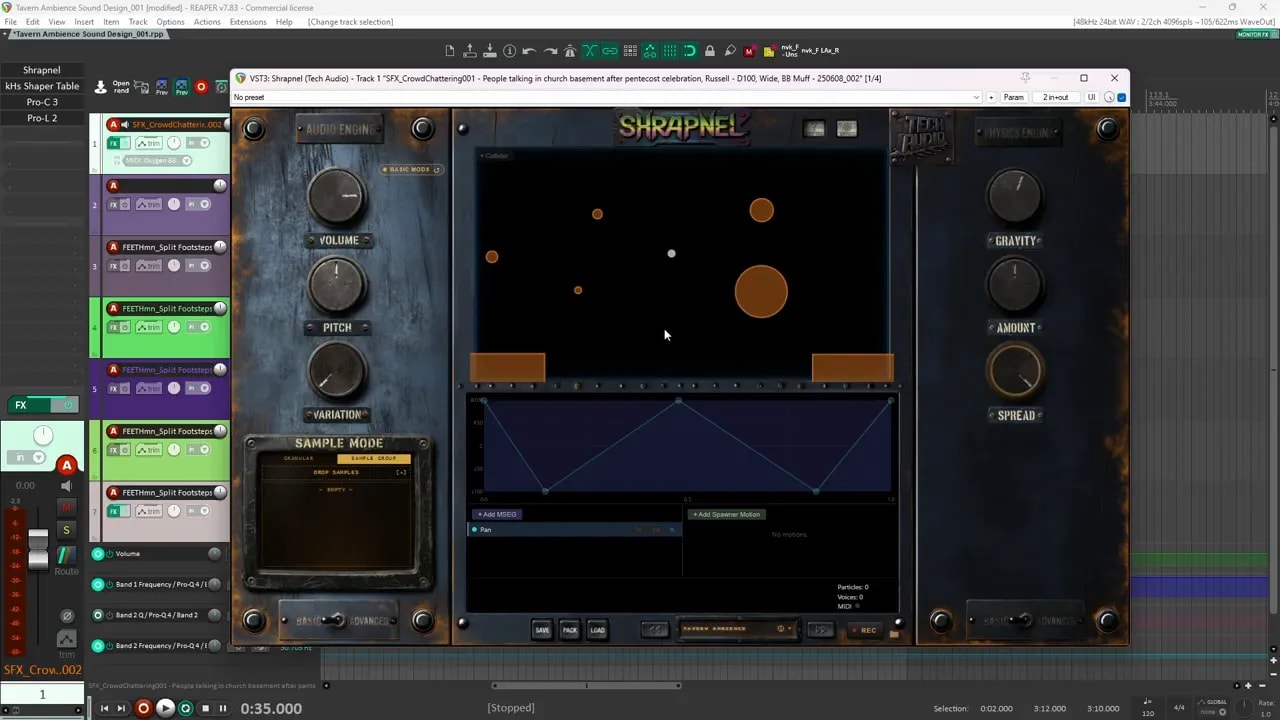
Collider size helps control how often a sound plays. A smaller circle is less likely to get hit, so it works well for occasional details. A larger collider gets hit more often, which suits sounds that need to appear more regularly.
The exact circle sizes were not especially important. What mattered was the relationship between them and the amount of activity I wanted from each sound.
If you want more detail on how the physics and audio mapping work, my Shrapnel particle sound design guide covers that setup more closely.
2. Build the Crowd Bed from a Restaurant Recording
The foundation was a busy restaurant ambience I had recorded. It already had the crowd activity I needed, so I cut out a short section and loaded it into Shrapnel.
I used granular mode so the patch could play different segments of that recording, rather than repeatedly starting from the same place.
Soften the envelope
I wanted a continuous wash of crowd sound, not an obvious new sound every time a particle hit a wall. Two envelope adjustments helped:
- A slower attack: lets each triggered segment fade in instead of starting abruptly.
- A decay of about 1.5 seconds: gives each segment enough length to contribute to the bed.
These settings help the individual triggers blend into an ambience rather than feel like separate events.
Shape the tone with a low-pass filter
The original recording had more high-frequency noise than I wanted. I brought down the low-pass filter to soften it.
There was a balance to find:
- Leaving the filter fully open made the crowd too bright and noisy.
- Closing it too far made the sound boomy or overly muffled.
- A setting between those extremes kept a clear crowd texture without all the top-end noise.
Use the hit threshold to control density
The hit threshold determines how fast a particle must be moving before its collision triggers the sound. Slow movements and gentle bounces can be ignored.
For this crowd layer, I landed on a threshold of 4.5.
- At around 8, the triggers became too sparse and the bed stopped feeling continuous.
- With the threshold too low, so many segments played that the detail disappeared.
- Between 4 and 5 gave me a useful balance, so I settled on 4.5.
I also set pan variation to 100%, allowing the triggered crowd segments to spread across the stereo field.
That gave me the first essential layer: a wide, busy crowd bed with enough variation to keep it moving.
3. Add a Steady Fireplace Layer
The second foundation layer was a fireplace. Like the crowd, I wanted this to play fairly continuously, but I treated its stereo placement differently.
- Keep the fire centred. I did not give it the full pan variation used on the crowd.
- Use a longer envelope. I increased the attack and decay so each collision produced a longer piece of fire sound.
- Balance it by ear. I adjusted the level while listening against the other layers.
There was not much more to this layer. Together, the crowd and fire already suggested a crowded tavern with a fireplace burning nearby.
Get those two base layers working before adding the little details. They establish the space. The remaining sounds make it feel occupied.
4. Bring in Plates and Utensils
I did not have the kitchenware recordings I needed in my library, so I recorded some plates and utensils around the house.
After importing the recording into Shrapnel, I used its transient detector to identify different starting points. That let the patch trigger separate clinks and movements from the recording.
Make the kitchenware feel farther away
The raw recording felt too close, almost as though the dishes were directly in front of the listener. I wanted them to suggest kitchen activity farther into the space.
I used both a high-pass and a low-pass filter to remove some of the lows and highs. That narrower frequency range helped the sounds sit farther back in this mix.
I also set pan variation to 100%, so the kitchenware events could appear at different positions across the stereo field.
Limit how often it triggers
This patch used four particle colours, but I allowed only two of them to trigger the plates and utensils.
With all four colours enabled, there was simply too much kitchenware activity. Restricting the eligible particles made the layer more occasional.
I also raised the hit threshold slightly. That stopped a particle from repeatedly triggering the sound while landing and rolling around. I wanted the more definite bounces to trigger it, not every tiny movement.
For this layer, density came from three decisions working together:
- Which particle colours could trigger the sound.
- How fast a collision needed to be.
- How the layer sat against the crowd and fireplace.
5. Create Footsteps That Move Away
The footsteps were a much rarer event. I wanted the occasional impression of someone walking away through the tavern, not a constant stream of steps.
The source was a recording I had made of myself walking on cement in snow boots. I processed it in Reaper before bringing it into Shrapnel.
- Add volume automation so the footsteps become quieter over the course of the take.
- Add EQ automation so the tone changes as the person appears to move away.
- Use another EQ to remove some additional highs and lows.
- Export four different takes with that movement already built in.
- Load those takes into Shrapnel as samples.
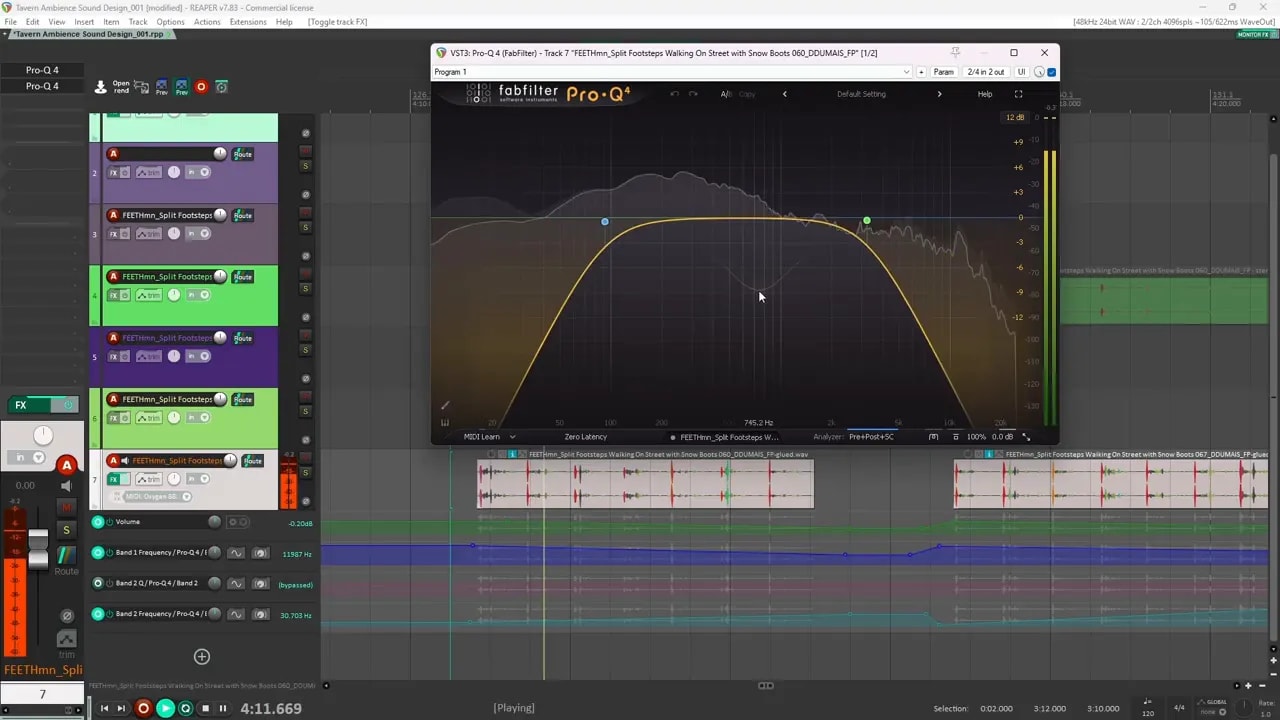
This meant that each trigger could play a short walking-away sequence, rather than just a single footstep.
I also used high-pass and low-pass filtering inside Shrapnel to help the samples fit the ambience. The layer triggered infrequently, which was exactly what I wanted. When it appeared, it added a little movement without dominating the room.
6. Use a Wood-Spinning Recording for Table Activity
Another detail came from a wood-spinning sound I had recorded at a museum.
It was a short sound, but it worked nicely in this context. Mixed into the tavern, it could suggest:
- Someone moving an object across a table.
- Something rolling around.
- A small piece of activity among the dishes and utensils.
The recording also contained some distant conversation. I was happy to keep that because the design already included a crowd. In this case, the background voices belonged in the environment rather than fighting against it.
The useful question was not whether the recording literally came from a tavern. It was whether its texture made sense once it was part of the complete ambience.
7. Add Wood and Door Creaks
The creak layer served two purposes:
- Furniture and room detail: smaller creaks could suggest wooden tables or other wood in the space.
- Door activity: some portions included a door slam, which could suggest a door opening or closing.
That gave the tavern another kind of activity beyond conversation and dishes. It also let one group of recordings do more than one job, depending on which part played and what else was happening around it.
8. Finish the Detail Layers with Wood Impacts
The last sound layer was a set of wood hits. I used these to suggest people putting things down on tables or knocking against them.
Some of the lower-sounding impacts could also pass as footsteps once they were mixed into the room.
At this point, the ambience had seven useful ingredients:
- A granular restaurant crowd bed.
- A centred fireplace.
- Occasional plates and utensils.
- Rare walking-away footstep sequences.
- Wood-spinning textures for small object movements.
- Wood and door creaks.
- Wood impacts for table activity and occasional footstep-like detail.
The important part was not making every ingredient equally obvious. The crowd and fire held the space together, while the other sounds came and went.
9. Add Thickness and Control the Peaks
Once the layers felt balanced, I added a small processing chain to the combined sound.
Shaper Table for thickness
Shaper Table made the biggest tonal difference. I used the default preset and brought the mix to about 50% to add some thickness.
I was not trying to completely change the ambience. I just wanted a little more body from the combined layers.
Compression for sharp events
Some utensil clicks and impacts occasionally jumped out above the bed. I used a compressor with a very fast attack to catch those peaks and bring them down.
The purpose was to control the occasional sound that poked through, rather than let it pull attention away from the overall environment.
Limiting for the output
Finally, I used FabFilter Pro-L as a limiter to keep the output from exceeding 0 dBFS.
The processing was straightforward:
- Add a little thickness.
- Catch the sharper peaks.
- Keep the final output under control.
10. Export, Clean Up, and Build the Loop
The Shrapnel patch produced the ambience on one track. I could still add specific sounds on other tracks if the design needed them, but the generated bed was already in a good place.
To turn it into a finished asset, I:
- Exported about three minutes of the generated ambience.
- Removed sections with distracting events that stood out too much.
- Split and rearranged the rendered audio to prepare the loop.
- Blended the join with a crossfade to create a continuous ambience bed.
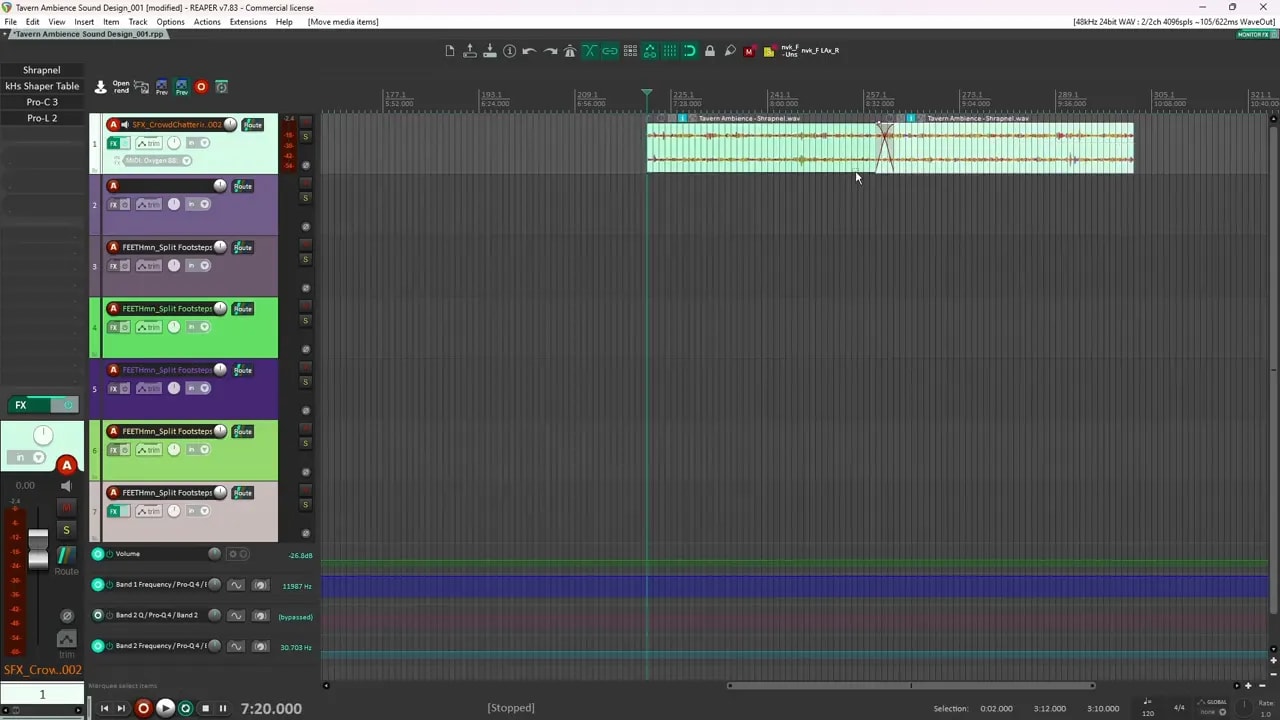
This final editing pass mattered. Shrapnel made it much quicker to generate a complex, varied environment, but I still chose which parts belonged in the finished loop.
Keep the Foundation Steady and the Details Occasional
The main idea behind this tavern ambience is simple: build a continuous foundation, then control how often the details interrupt it.
- Use envelopes to blend the crowd and fire into a steady bed.
- Use filtering to shape tone and help details sit farther away.
- Use pan variation selectively, rather than spreading every sound equally.
- Use collider size, particle colours, and hit thresholds to control activity.
- Render more material than you need, then edit the strongest parts into a loop.
You do not need every sound happening all the time. A few well-balanced layers, with enough room between the smaller events, can make the tavern feel busy without turning it into a wall of noise.