Intro
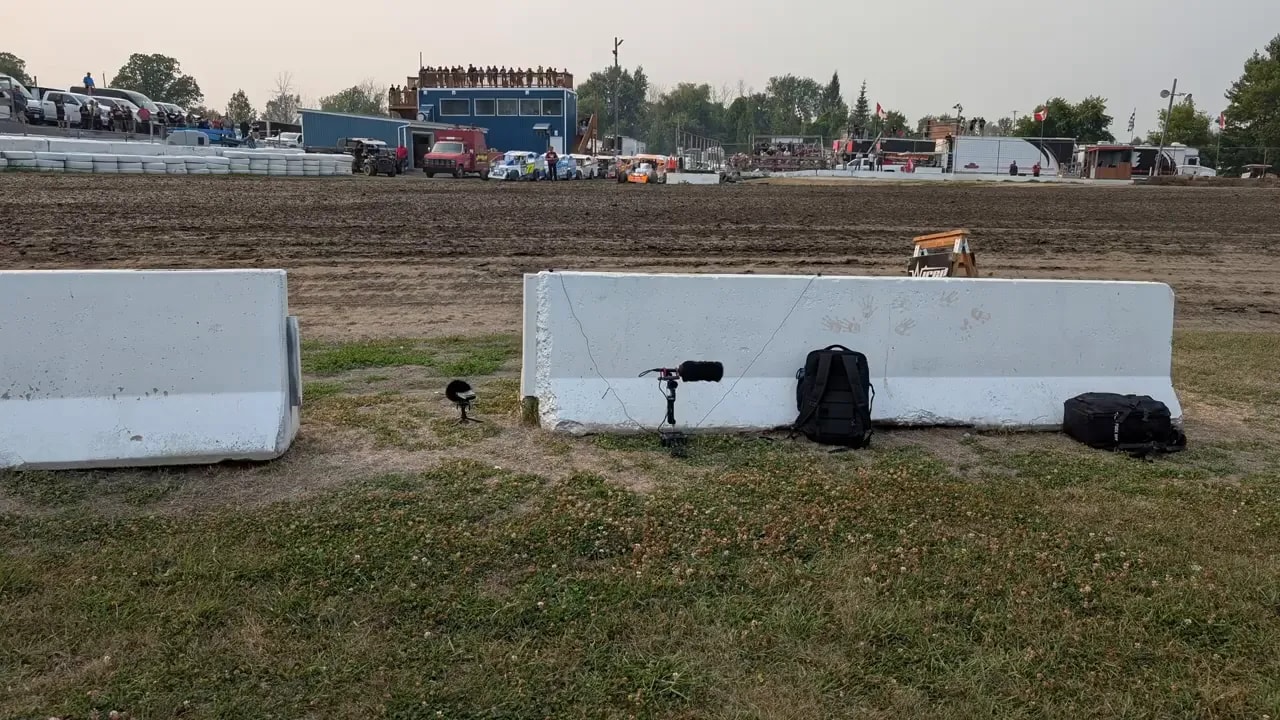
Recording loud racecars at a dirt oval track was one of those field recording sessions where everything happens at once. Engines are screaming, crowds are moving, music is playing, wind is hitting the microphones, and there is no convenient way to redo a pass once a car has gone by.
I spent the full day recording from morning until after sunset, collecting sounds from the infield, pits, grandstands, and around the crowd. The trip produced some great material, but it also reinforced a few very important lessons about recording extremely loud sound sources.
If you are recording cars, machinery, firearms, aircraft, concerts, or any other high SPL source, these five lessons can save your gear, your recordings, and most importantly, your hearing.
Interested in hearing what I recorded? Check it out here.
THE Lessons
1. Make a packing list, and treat headphones as essential
The first lesson is simple: make a field recording packing list. When you are leaving early and expect to be out all day, it is easy to assume you packed everything because your recorder, microphones, batteries, and stands are all there.
That is exactly how one crucial item gets left behind.
In this case, it was headphones. Forgetting headphones meant there was no way to monitor recordings during the day. I knew my equipment well enough to make reasonable choices, but I could not properly check microphone placement, stereo spread, noise issues, wind problems, or whether a signal was getting too close to distortion.
A pre session checklist should include:
- Recorder and microphones
- Headphones for monitoring
- Fresh batteries and backup batteries
- Memory cards with plenty of free space
- Wind protection
- Shock mounts and handles
- Stands, clamps, and adapters
- Hearing protection
- Weather appropriate clothing and water
Headphones are not just for confirming that audio is recording. They help you make creative decisions in the field. You can hear when a microphone angle is isolating a particular engine, when a wide recording is picking up too much crowd noise, or when the wind is becoming a problem.
2. Microphone placement changes completely with loud vehicles
In a studio, it is normal to place a microphone one to three feet from a sound source. With racecars, that mindset can get you into trouble very quickly. The engines are so loud that even being ten feet away can still produce an extremely aggressive signal.
Placement becomes less about getting close and more about choosing the right perspective.
At the track, I recorded from several locations:
- The infield: A close and energetic perspective of cars racing around the oval.
- The pits: More mechanical detail, idles, movement, crew activity, and cars being prepared.
- The grandstands: A wider race perspective with more of the venue and crowd environment.
Those locations created a much more flexible sound library than recording from a single spot. A close recording can work for a powerful engine layer, while a more distant recording can work for ambience, transitions, pass bys, or a broader racing scene.
Microphone spacing also matters when capturing wide stereo. I used a pair of EM258 ultrasonic microphones and separated them by roughly three to five feet. The results were usable, but after listening back, I felt the stereo image could have been wider. Since I did not have headphones to test the placement, I had to accept that spacing for the day.
The takeaway is to arrive early enough to experiment. Record a few test passes, listen back, move the microphones, and decide whether you need more separation, a different angle, or a different perspective.
Choose microphones for the environment, not just the sound source
A loud track is not only full of engine noise. There are crowds, announcements, music, wind, equipment, people talking, and all kinds of activity. That makes microphone choice important.
For targeted recordings, I used an MKH 416 shotgun microphone. Its directional pickup pattern made it useful for aiming at a specific car and reducing some of the surrounding chaos.
For broad stereo recordings, I used a Sony PCM D100 handheld recorder. A handheld recorder is quick to place around a location, so it was useful for grabbing wide perspectives from different areas of the event.
The general approach is straightforward:
- Use a directional microphone when you want to focus on one vehicle or one area.
- Use a stereo recorder or spaced pair when you want the size, movement, and atmosphere of the location.
- Record several perspectives because each one may become useful for a different sound design purpose.
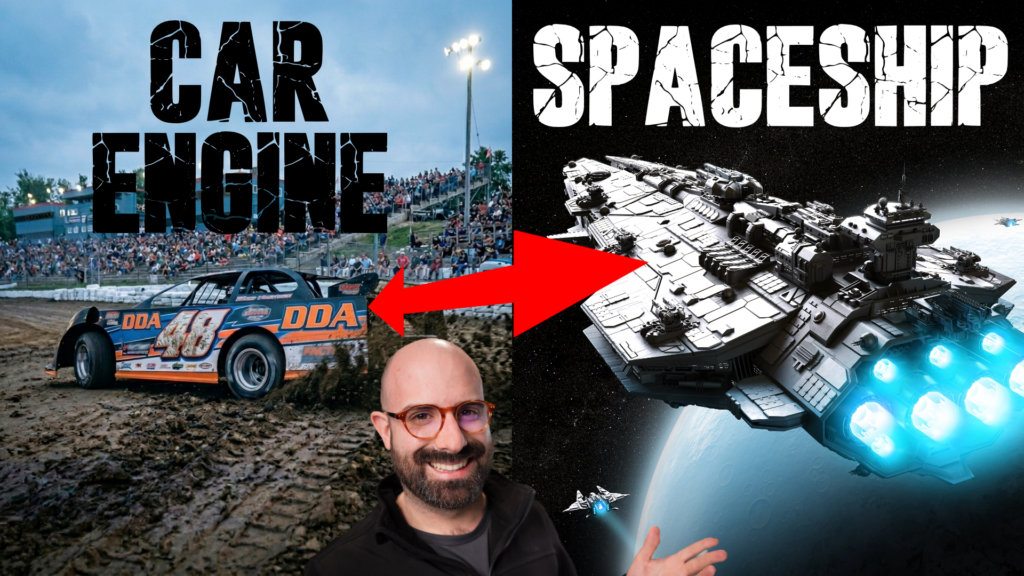
Those varied racecar recordings can become much more than literal car sounds. You can turn them into whooshes, engines, magic, monster layers, and sci fi material. For more ideas, check out five sound effects you can build from racecar recordings.
3. Protect your hearing
Racecars are seriously loud. Sound levels can reach roughly 110 to 120 dB, so basic earplugs alone may not offer enough protection for a long recording day.
I use custom molded earplugs that reduce sound by around 15 to 20 dB. They are comfortable and useful, but that amount of reduction is not enough on its own for something as loud as racecars.
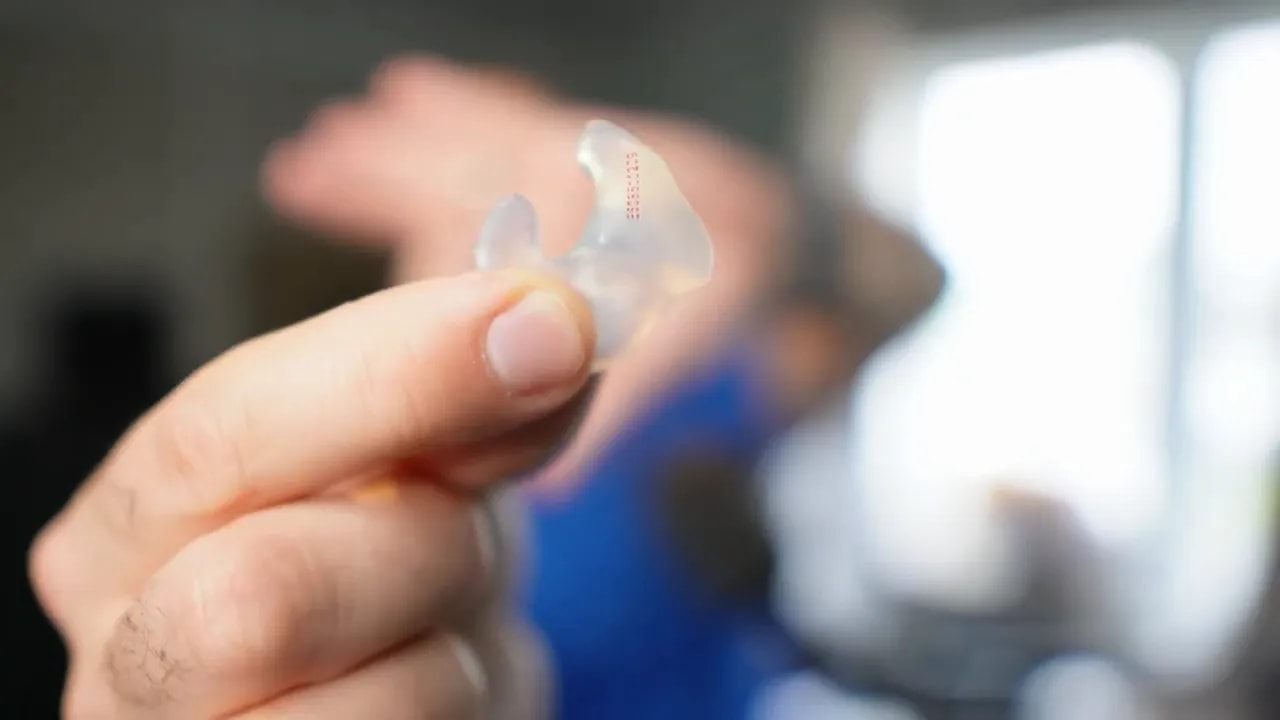
For added protection, I wore earmuffs over the custom earplugs. That double layer approach helped, although the cars were still very loud.
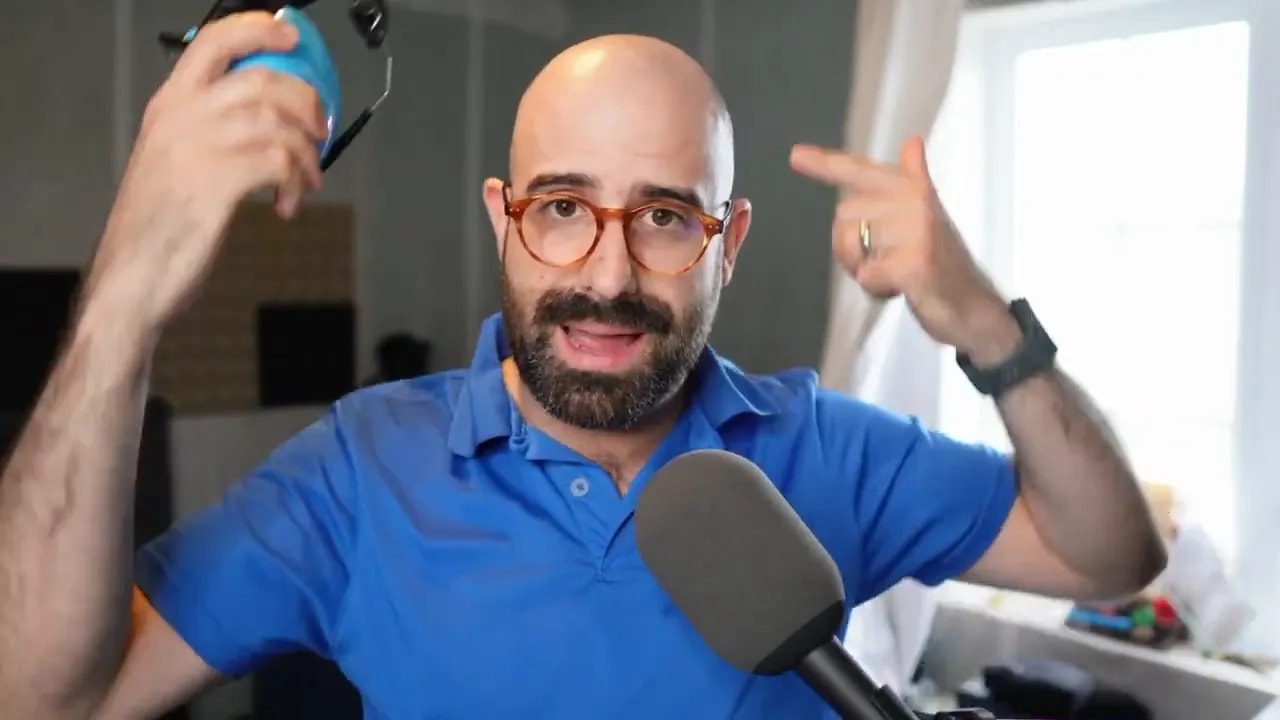
For very loud sources, look for hearing protection that can provide closer to 35 to 40 dB of reduction where possible. Hearing damage is not worth the risk, and it is not something you can fix later in post production.
Keep hearing protection in your recording kit all the time. It should be as standard as carrying extra batteries or a windscreen.
4. Use pads and record much quieter than usual
With loud sound sources, your normal gain settings are probably too high. A setting that works perfectly in a studio can overload immediately at a race track.
During practice laps or before the main races begin, set up microphones, record tests, and check where the levels are hitting. Loud vehicles can require gain settings that feel almost absurdly low.
On some recordings, I had to bring levels down from a typical setting around five to settings near one, half, or almost zero. The goal is not to make the waveform look huge. The goal is to capture clean audio with enough headroom to survive the loudest moments.
If a microphone or recorder has a pad, be ready to engage it. A pad reduces the level before the signal overloads the microphone electronics or preamp.
For loud field recordings, keep these points in mind:
- Test levels before the main event begins.
- Turn the gain down far more than feels normal.
- Use microphone pads when available.
- Prioritize clean headroom over a hot signal.
- Monitor whenever possible, especially when changing locations.
Natural microphone distortion can sometimes become useful material
Not every overloaded recording is automatically useless. Some racecar recordings that were clearly too loud developed a natural microphone distortion that actually sounded interesting.
That kind of distortion can add aggression, texture, and character without having to add a distortion effect later. Some of those recordings stayed in the sound library because they worked well as designed elements.
That said, this should be a creative option, not the default plan. Clean recordings give you more flexibility. You can always add distortion later, but you cannot remove harsh clipping once it is baked into every recording.
A good approach is to capture both:
- Clean, conservative recordings for maximum editing flexibility.
- More aggressive recordings when you intentionally want grit, saturation, or impact.
This is one reason a structured approach is useful when turning raw recordings into finished effects. The four step sound design workflow can help you move from source material to layered, expressive sound effects without losing the character that made the recording interesting in the first place.
5. Wind protection and shock mounts can save the entire session
Two pieces of equipment made a massive difference at the track: wind protection and shock mounts.
Without them, many recordings would have been affected by wind rumble, handling noise, vibration, or movement through the event grounds. With loud vehicles, there is already enough happening in the low end. You do not want wind noise taking over the recording as well.
Use proper wind protection outdoors
For the MKH 416 shotgun microphone, I used a Bumblebee Industries Windkiller. It kept the recordings clear and prevented wind issues throughout the day.
For the Sony PCM D100, I used a Windkiller SE. That made it possible to capture wide handheld recordings with very little wind rumble. In extremely strong wind, any windscreen can be challenged, especially if it is not fitted properly, but good protection makes the problem much easier to manage.
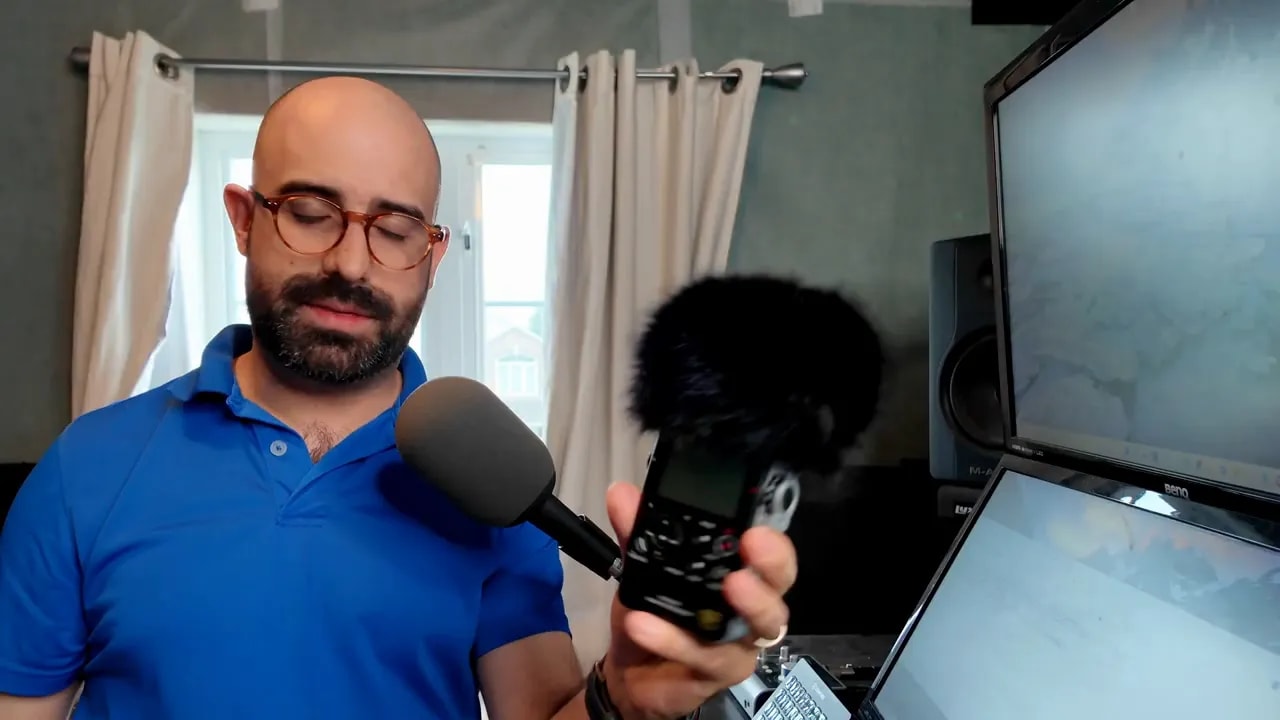
Do not underestimate wind protection just because the day appears calm. A small gust can ruin an otherwise perfect take, and a race track often has open areas where wind can move unpredictably.
Use shock mounts to avoid handling noise
A shock mount isolates the microphone or recorder from vibration caused by your hands, footsteps, cables, and movement. This was especially useful while moving between the infield, pits, grandstands, crowds, and vehicles.
I used a Rycote shock mount for the handheld recorder, along with a quick release system that made it easy to attach and remove the recorder without twisting it on and off. Once mounted, it stayed quiet and stable.
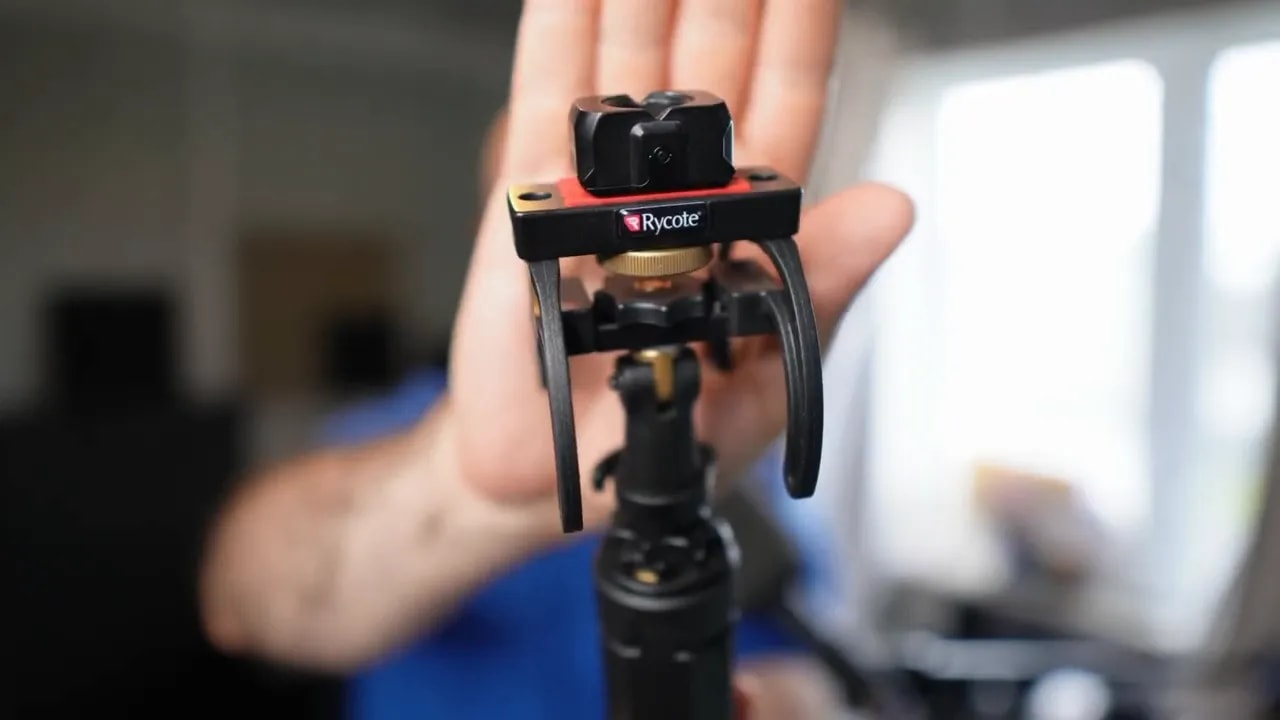
For the MKH 416, I used a shock mount with Rycote lyres on a Rode handle. That setup let me point the shotgun at passing cars while walking around without vibration leaking into the recordings.
A solid field recording rig should let you move freely while keeping the microphone isolated. You want to be able to aim quickly, follow a passing vehicle, reposition around the venue, and capture opportunities without introducing unnecessary handling noise.
A practical loud sound recording checklist
Before heading out to record loud racecars or any high volume sound source, run through this list:
- Pack with a written checklist.
- Bring headphones and confirm they work.
- Bring layered hearing protection.
- Use wind protection on every outdoor microphone.
- Mount microphones and handheld recorders in shock mounts.
- Test microphone placement from several perspectives.
- Record practice laps before the important action starts.
- Set gain lower than you think you need.
- Engage pads where necessary.
- Capture close, wide, directional, and ambient recordings.
Field recording days like this are demanding, but they are also one of the best ways to build a unique sound library. The more perspectives and variations you capture, the more creative options you have later when designing game audio, creature layers, weapons, vehicles, spells, UI sounds, and cinematic effects.
If you are interested in getting the sounds from this field recording trip, you can check it out here.
If you need more raw material for your next sound design session, you can also grab the free video game sound design starter pack.